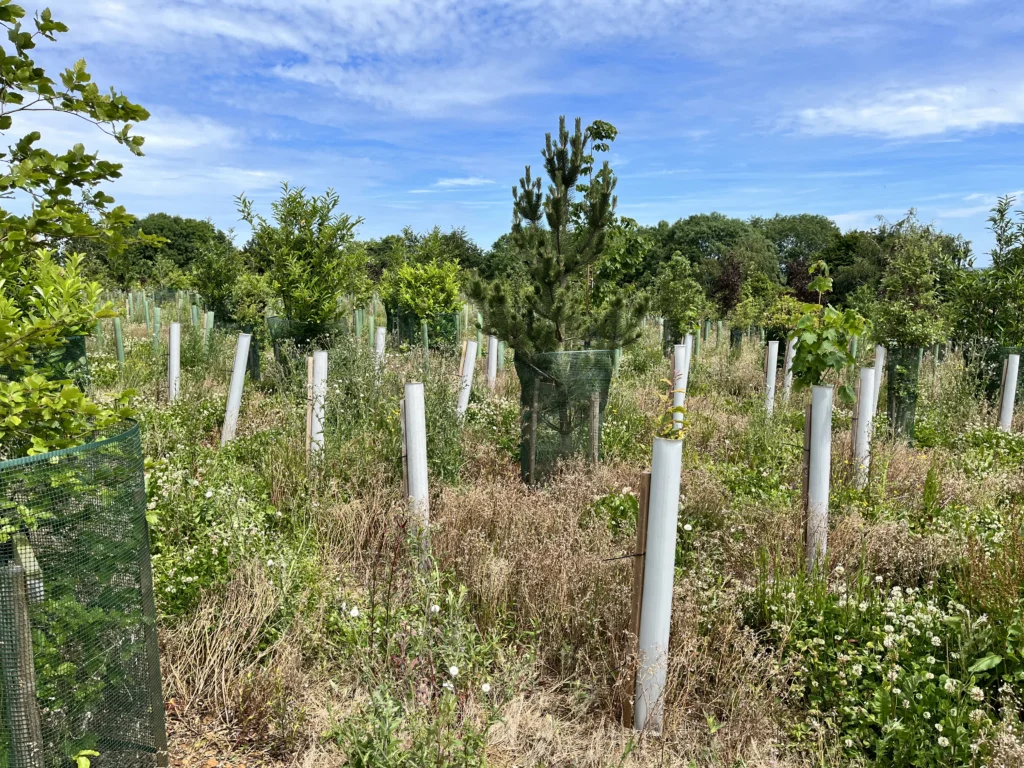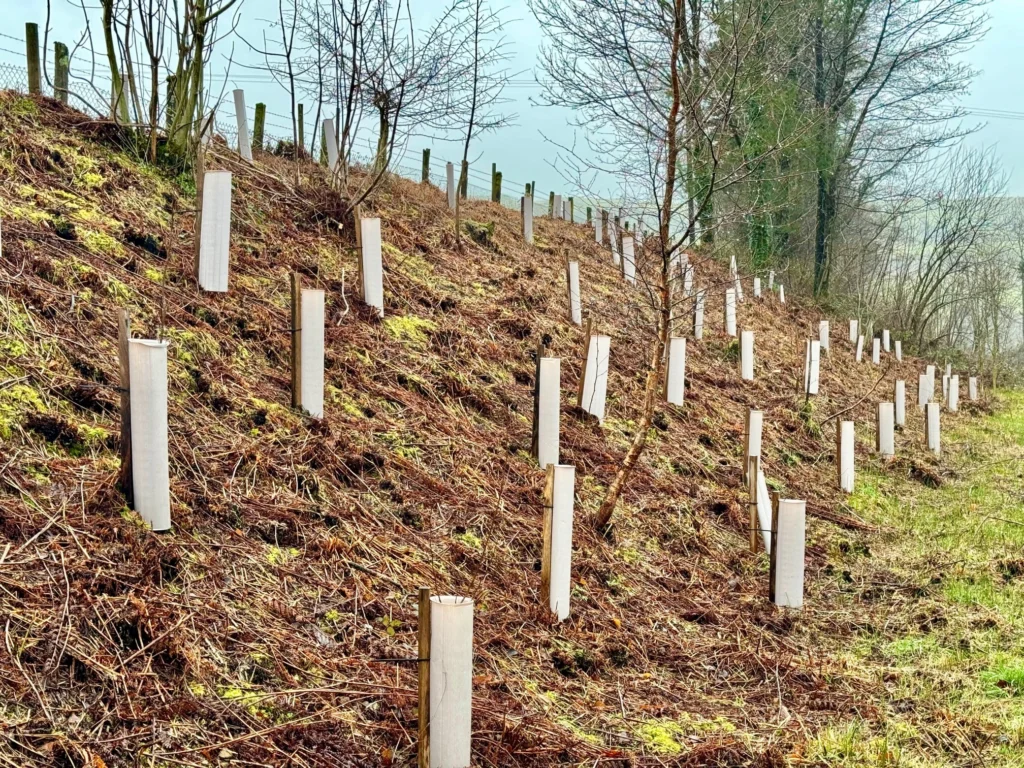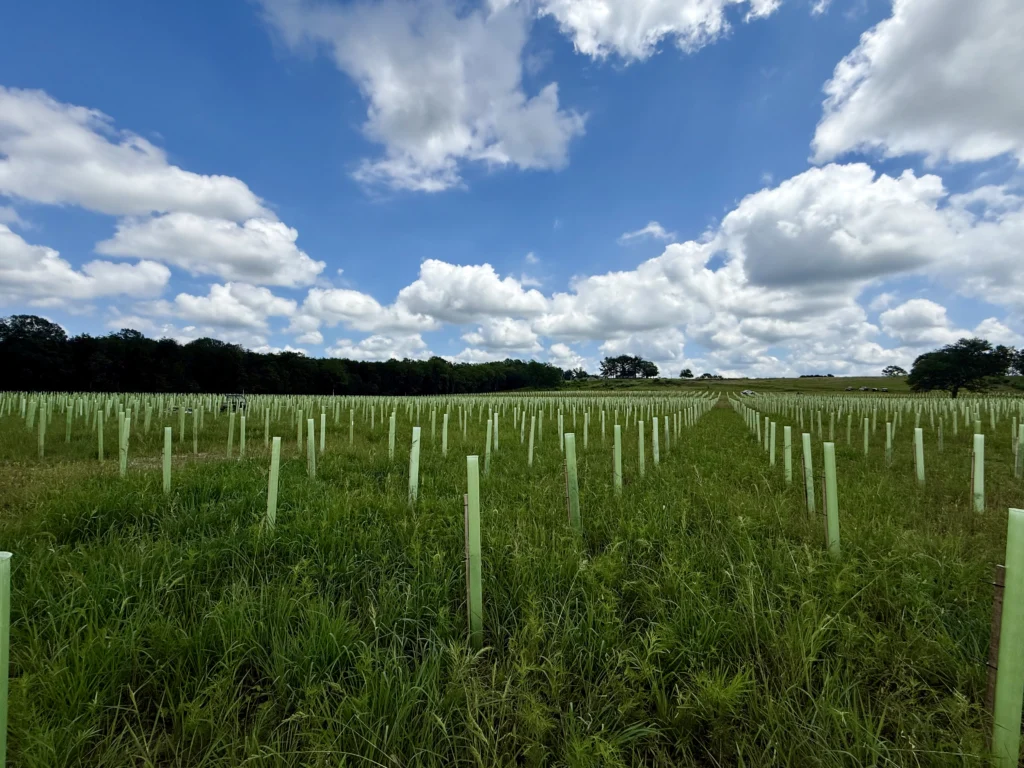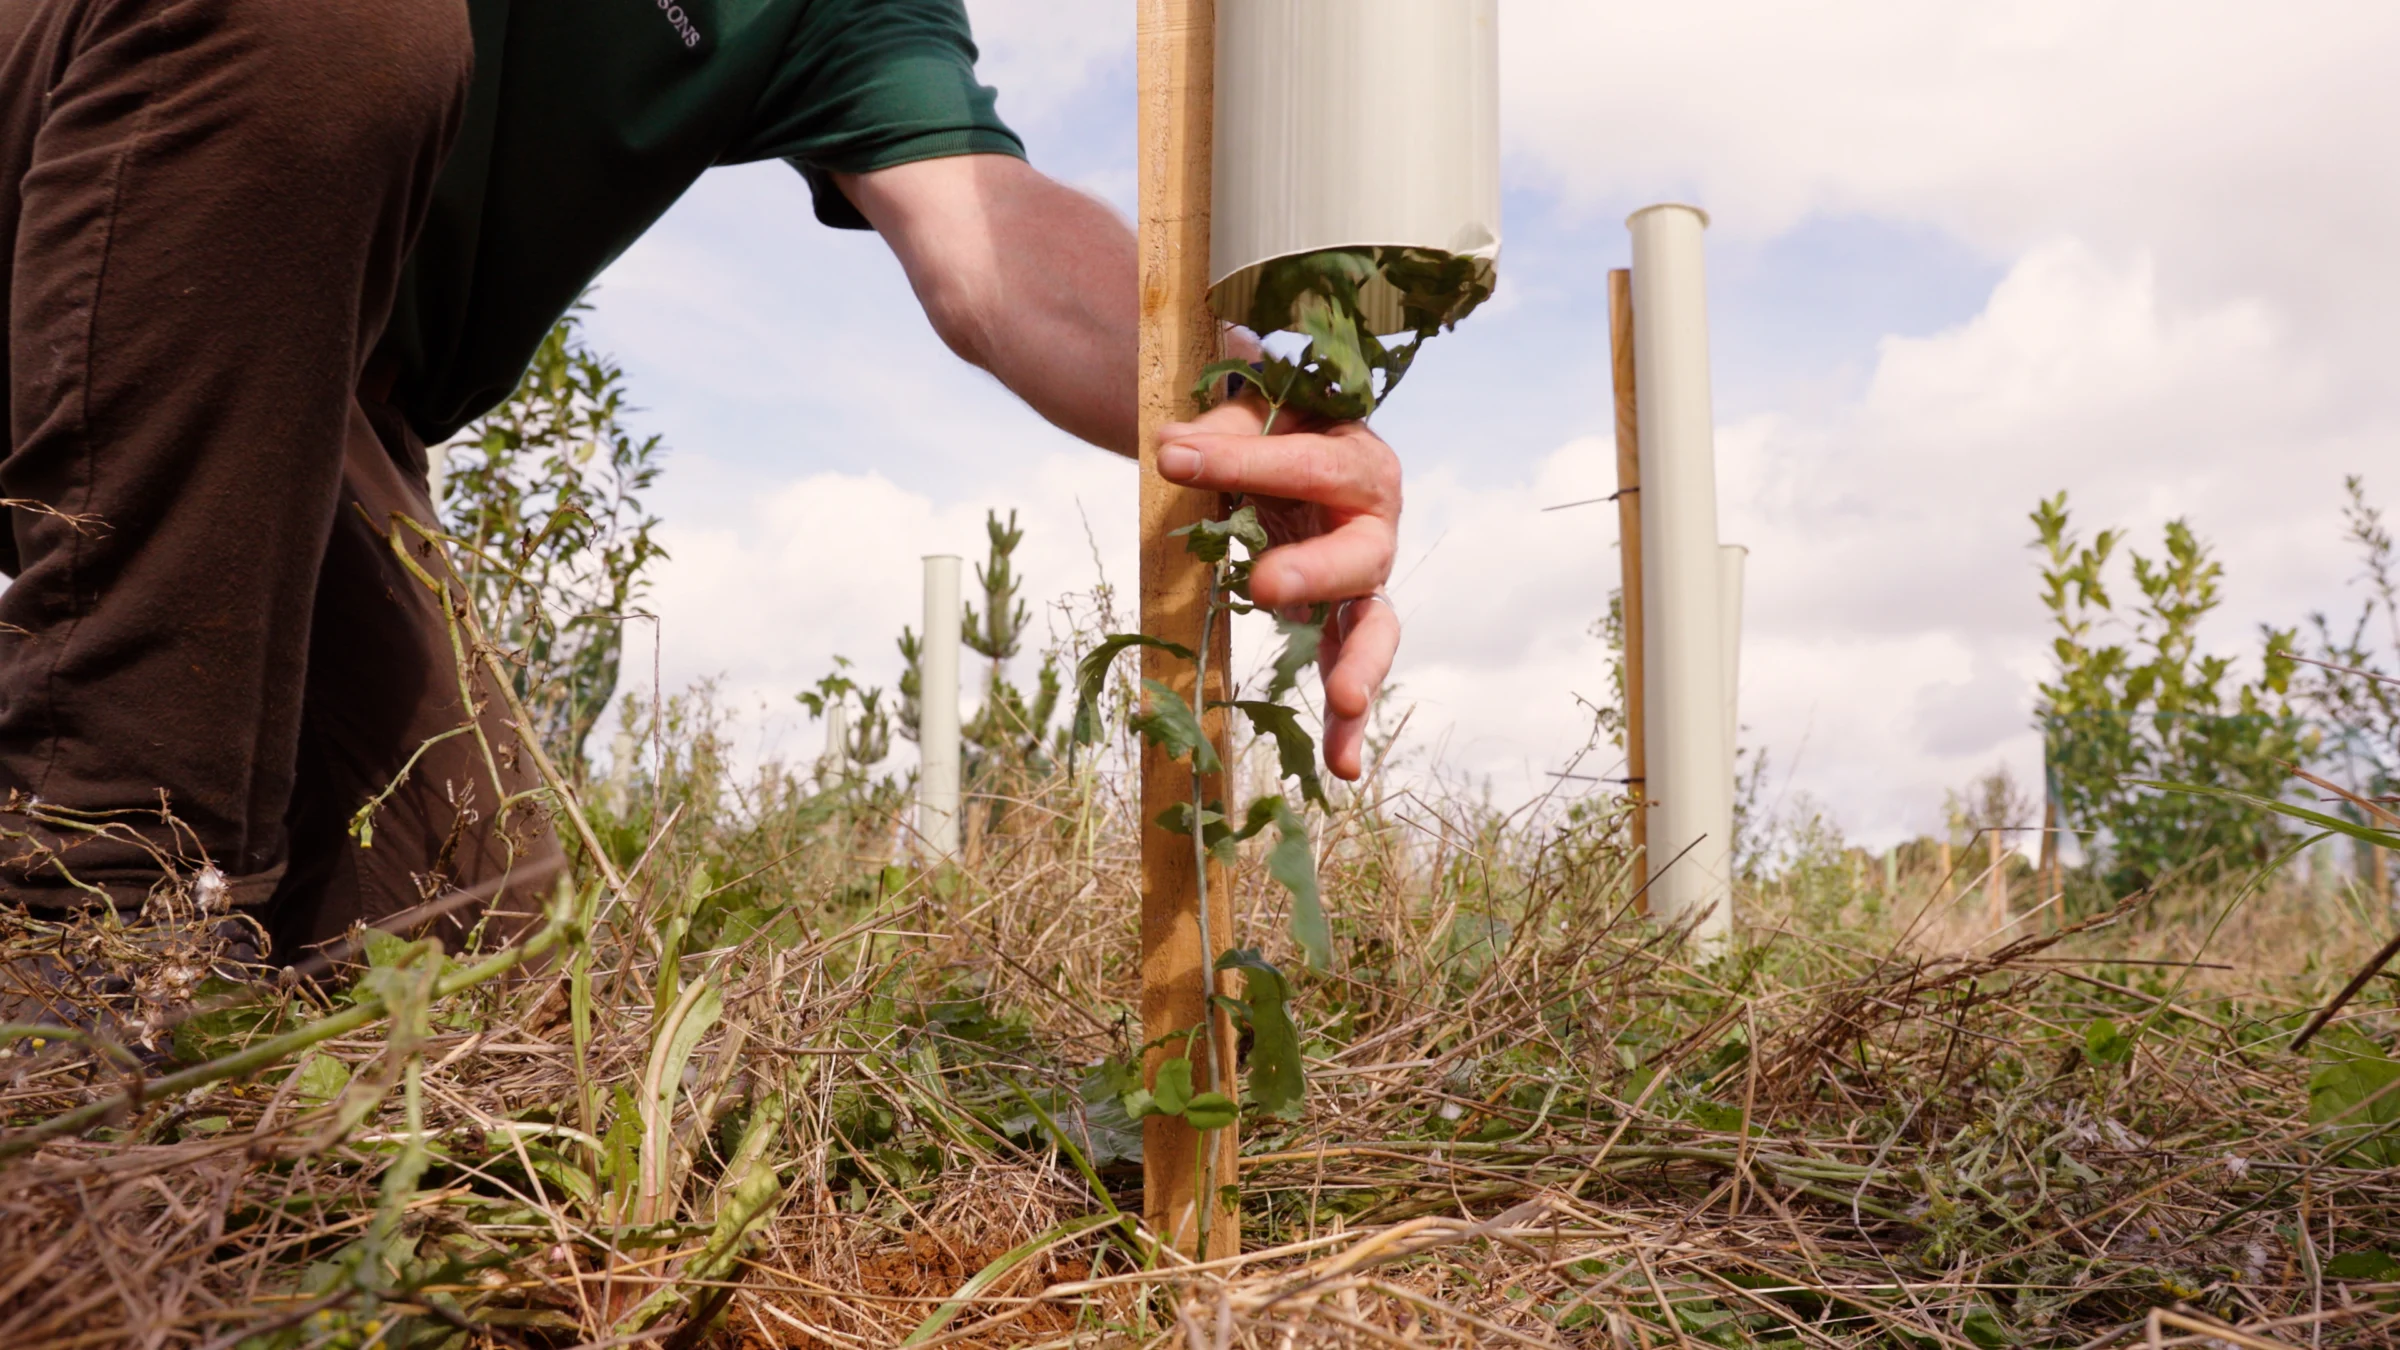
A tree shelter only works if it is installed correctly. Knowing how to install a tree shelter properly (firmly staked, well seated and correctly tied) is the difference between a guard that protects a seedling for years and one that blows over, leans or lets browsing animals in. This step-by-step guide is written for foresters and land managers planting at scale, and applies to both standard and biodegradable shelters.
Before you start: what you need
For each tree you will need the shelter itself, a stake of the correct length, and ties or clips to fix the shelter to the stake. Match the shelter height to the browsing pressure on site (taller for deer, shorter where rabbits are the main threat), and choose the shelter type that suits your project, whether that is a solid tree guard, a ventilated Vigilis Bio shelter, or a mesh shelter for larger stock. Have a mallet or stake driver ready before you begin.
How to install a tree shelter: step by step
- Clear the planting spot. Remove competing weeds and grass in a circle around where the tree will go. This reduces competition for water and stops vegetation growing up inside the shelter.
- Plant the tree. Plant your seedling firmly at the correct depth, with the root collar at soil level. Firm the soil around the roots so there are no air pockets.
- Drive the stake. Drive the stake into firm ground on the side of the prevailing wind, hard against the shelter. It must be deep enough to hold firm, typically a third of its length, so the shelter cannot rock or lift.
- Place the shelter over the seedling. Lower the shelter carefully over the tree, making sure no foliage is caught or folded against the inside wall. The base should sit flush with the soil surface.
- Settle the base into the ground. Push the shelter a centimetre or two into the soil, or firm soil around the base, to close the gap. This stops voles and mice entering at ground level and keeps the shelter stable.
- Tie the shelter to the stake. Secure the shelter to the stake with the ties or clips, usually two: one near the top and one lower down. Tighten so the shelter is held snug against the stake but the tie is not cutting into the tube.
- Check it is square and stable. Stand back and confirm the shelter is vertical, firmly seated and tightly tied. Give it a gentle push. It should not move at the base.
Common installation mistakes to avoid
- Stake too short or too shallow: the single most common cause of failed shelters, they rock loose and blow over.
- Gap at the base: leaves a route in for voles and mice, which can girdle the stem.
- Foliage trapped against the wall: can damage leaves and restrict early growth.
- Ties too tight or too loose: too tight can constrict; too loose lets the shelter chafe and shift in the wind.
Aftercare and maintenance
Walk your planting at least once or twice a year, especially after high winds. Re-firm any loose stakes, re-seat shelters that have lifted, and clear weeds growing up inside the tube. With a recyclable shelter, plan a retrieval visit once the tree is established; with a soil-biodegradable shelter such as Vigilis Bio, the shelter breaks down in situ and no collection is needed. For background on establishment and shelter performance, Forest Research publishes detailed technical guidance for UK land managers.
Good installation is quick once the routine is set, and it pays back in survival rates across the whole planting. For advice on the right shelter and stake for your forestry or conservation project, find your local Vigilis distributor.